Video description: How to format a Word doc for writing an APA style college paper
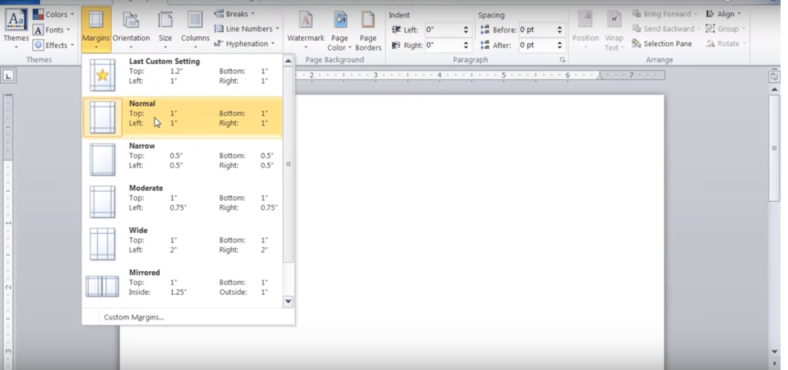
This article will show you how to create APA style Word document. Once you have this created as your template moving forward whenever you write a paper, you’ll want to use this because it will already be formatted correctly. So for starters, we’ll want to focus on our margins and our font. So you’ll need to go to page layout margins and make sure you’re on normal with one-inch margins all around.
Set the Style
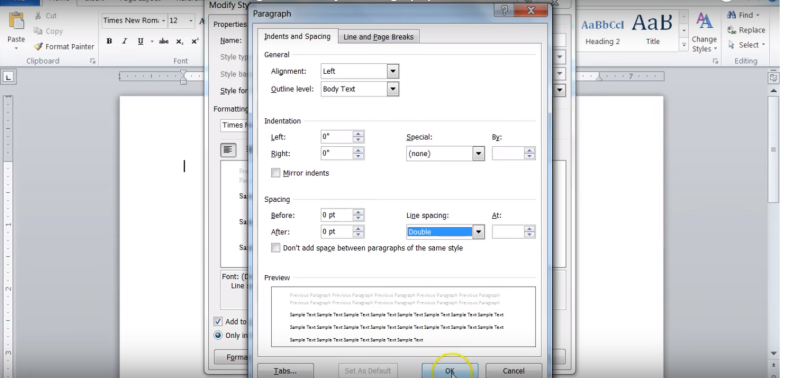
Then go back to home tab, and you’re going to be using Times New Roman 12-point font. To save time you can use the Styles for starters. Click to modify Times New Roman 12-point font. Then go down to format, paragraph, and make sure this is set to double spaced. You can see it’s nicely double-spaced. Hit OK and then click new documents based on this template.
Then modify the second one. Make sure everything look good at that step:
- Times New Roman;
- 12-point font;
- format;
- a paragraph can be single.
Create new documents based on this.
Heading
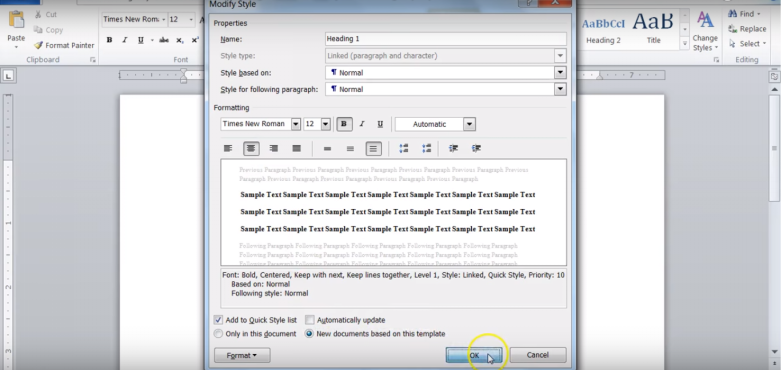
Here are the next important steps. You’re going to fix heading 1 and heading 2. Modify so again: everything’s going to be Times New Roman, 12-point font. It needs to be in black. APA style does not enjoy color. Keep this text centered. Select new documents based on this template.
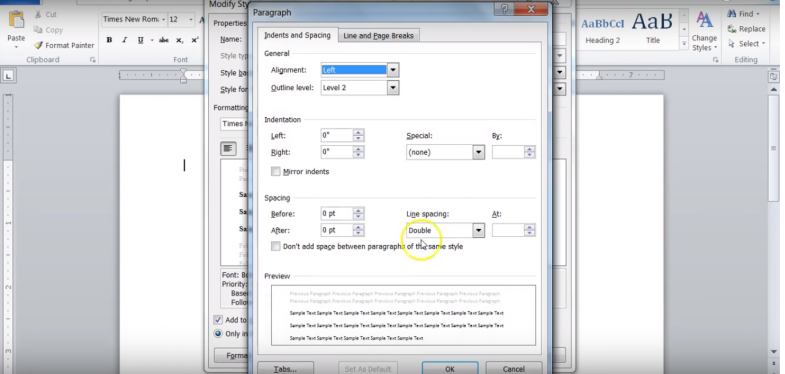
Then do the same for heading 2. Modify it to Times New Roman, 12-point font. It’s good to make this text bold. Switch the color to black, and then we will keep the text left aligned. Now we’re going to make sure our paragraph still shows double-spaced. Then click new documents based on that.
Header
For starters, we’re going to create a header. To define the header you need to double-click in the upper section: and now it’s showing us our header:

It brings up this new design tab with all our features for our header. We’re going to click on “Different first page” because that’s what we’ll want. Then we’re going to insert our page numbers:
- top of the page;
- upper right-hand corner.
Then we’re going to write “running head,” and then the “title of our paper.”
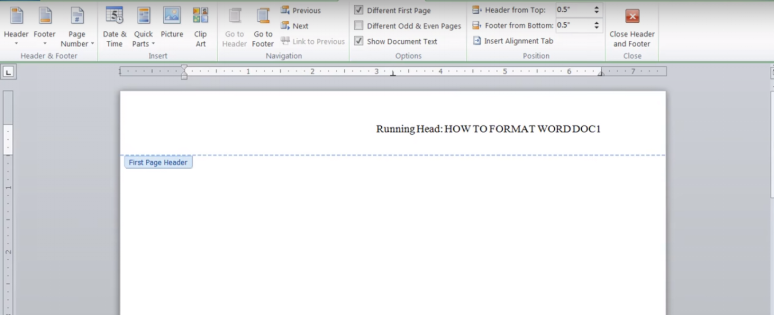
Then we double-click to get out of that.
Title page
For our title page, we’ll want certain information for every piece of paper. We turn into our instructor to help them grade it more easily. So we’ve got that already put together, and we’re going to put that over here where it belongs:
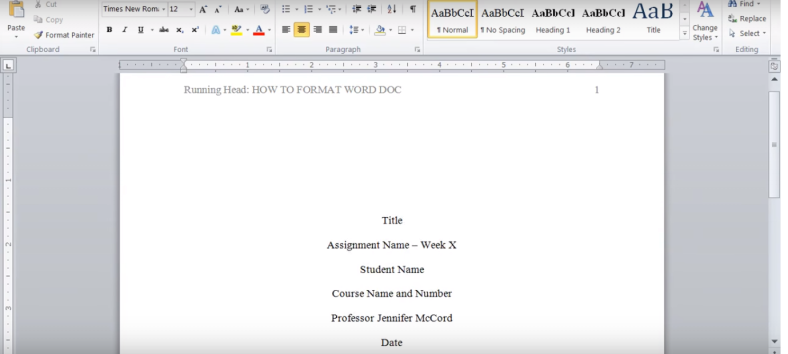
Make sure it’s centered. Bring it down in the middle of the page. It is how we have our title of the paper itself:
- What the assignment is called (whatever it says in the syllabus). That will match what itsays in the grade book.
- Student name.
- Course number.
- The number for the course.
- Your professor’s name.
- The date (that would be the due date of the assignment).
Text after the Title Page
We’re going to go ahead and insert a page break because we want the next part to start on a new page. That is why we want a different header on the first page. We’re going to create a second type of header. We’re going to go to:
- design;
- page number;
- top of the page.
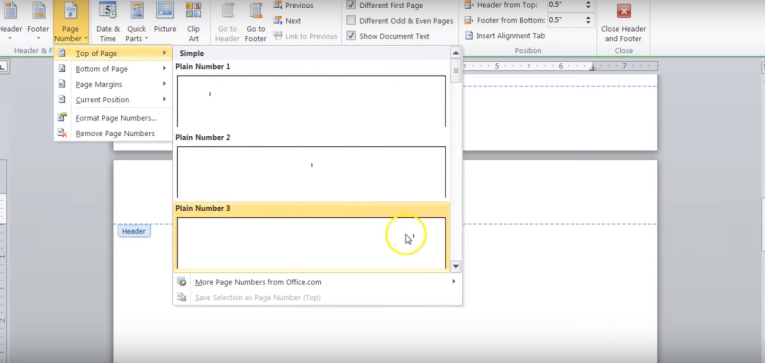
Now we’re just going to put our title. We do not include the words “running header” on any page except for the first one. We type only the title. That’s going to be in all caps.
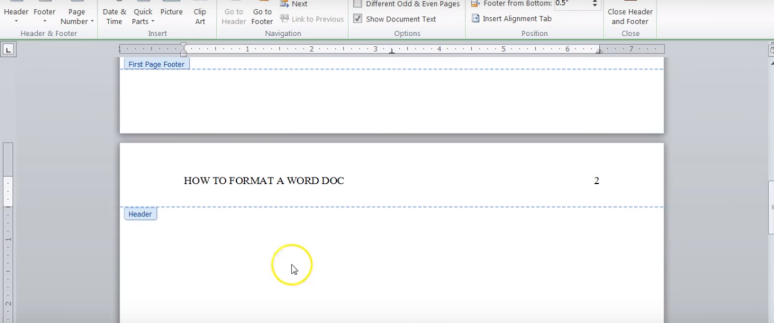
We double-click to get out of there. Now let’s pretend we’re going to write a five paragraph essay about fruit. We’re going to start with our introduction and because that’s a header we’re going to label it “Heading 1.”
It applies all the appropriate formatting, and we’re going to grab a paragraph of text from a document we’ve already created. Put that right in the document, and you’ll notice it’s already formatted normally. You can also have new spacing and header or heading too.
We also want to tab over. We indent all our paragraphs and then we’re going to add our next section on apple. Make sure to tag that as a heading and then add a paragraph, then grapes and oranges heading.
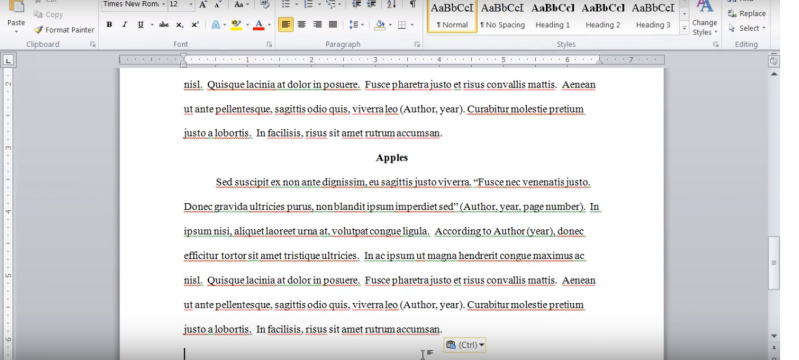
Table of Contents
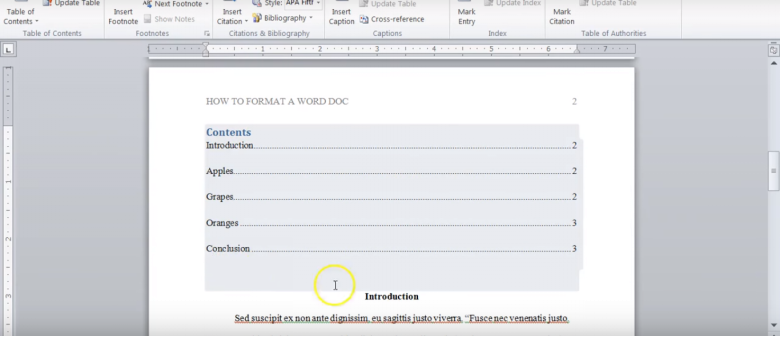
We have a nice five paragraph essay here and what we want to do is do a table of contents. We’re going to go ahead and put our cursor back at the beginning. We’ll go to the references tab. table of contents, pick one of those, and it automatically creates it for us. Everything that we just told it was a heading one: introduction, sections, and conclusion. It pulls and puts in the table of contents for us. As we write our paper we just occasionally wanted to before, we submit the final click back on this table of contents and update the information. We’ll click “update” before we submit it and update the entire table. It’ll adjust all the page numbers and titles which we’ve created.
Now go to page layout, insert a page break, so that way we have our title page followed by our table of contents: followed by two pages for a five paragraph essay.
References
There’s just one more thing missing, so we’re going to the end of our document. Insert a page break, so we start on a new page and put in a references header. Click:
- home;
- tab heading one;
- term
Highlight this area because there’s special formatting for the references page. Then we go to paragraph and what we’re going to do is a hanging indent:
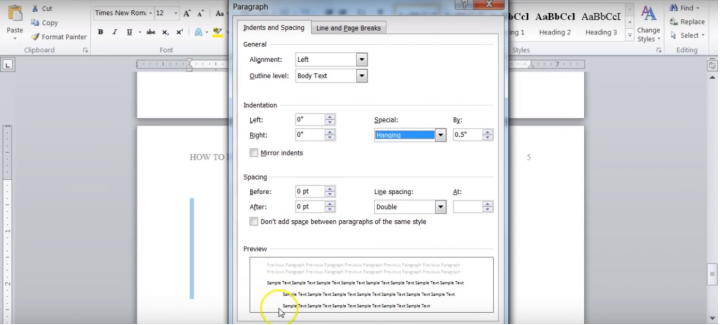
The second and third fourth subsequent lines are going to be indented. We’re going to grab from a previous document our reference information: copy and paste that over. Save this document and then moving forward use this to create future documents that way. You don’t have to repeat all the formatting that you’ve just achieved.


